Back in the house I covered each half circle with some thin wadding, glued on with evostick. Once this was dry I used some of the leftover silvery material from Peter's first skating outfit to cover the wadding, gluing it on in stages using Hi-tack glue. The glue soaked through the very thin material very easily and it was tricky not getting my fingers rather than the material sticking to the dowel, however after allowing each stage to dry a bit, I was able to make progress with it. Once the top was complete, it was a relatively simple matter to glue a long strip of the silvery material along the length of the dowel.

The top of the microphone stand
after I'd covered the plastic half circle with wadding
after I'd covered the plastic half circle with wadding
Each microphone was made out a 2" length of the same dowel. At one end I glued a strip of wadding, then I covered it with a piece of the silvering material taken from the edge, where there was a 1 inch wide band of white material rather than the silver, so this made a good distinction between the padded microphone and the handle. Once this had dried, I used a short length of elastic sewn on at the end and at the other end of the handle to provide a means for the doll or the microphone stand to hold the microphone without dropping it.

The microphones at various stages,
and the base of the microphone stand (half cotton reel)
and the base of the microphone stand (half cotton reel)

comparing the two home made microphone stands for Gotz dolls
with the smaller version for Groovy Girl dolls
with the smaller version for Groovy Girl dolls

Close up of the microphone on its stand
Later in the day my elder daughter returned from her music trip. She brought back a few souveniors, one of which was a small guitar about the same size but a different style from the one I'd bought! She was delighted with Harriet in her new outfit, but the green eyed monster emerged when my younger daughter saw her sister get a new outfit and instrument for her doll, and there was nothing for Samantha doll (who received a new outfit in May but no instrument). So I've decided to make a similar rockstar outfit for Samantha (I had already planned to make one for one of the 3 dolls belonging to my cousin's daughter, for Christmas, and had bought a guitar for that purpose), so it looks like the pattern I made up based on the 'Hannah Rockstar' outfit, will be used again a couple of times.
Harriet in her version of the Rockstar outfit
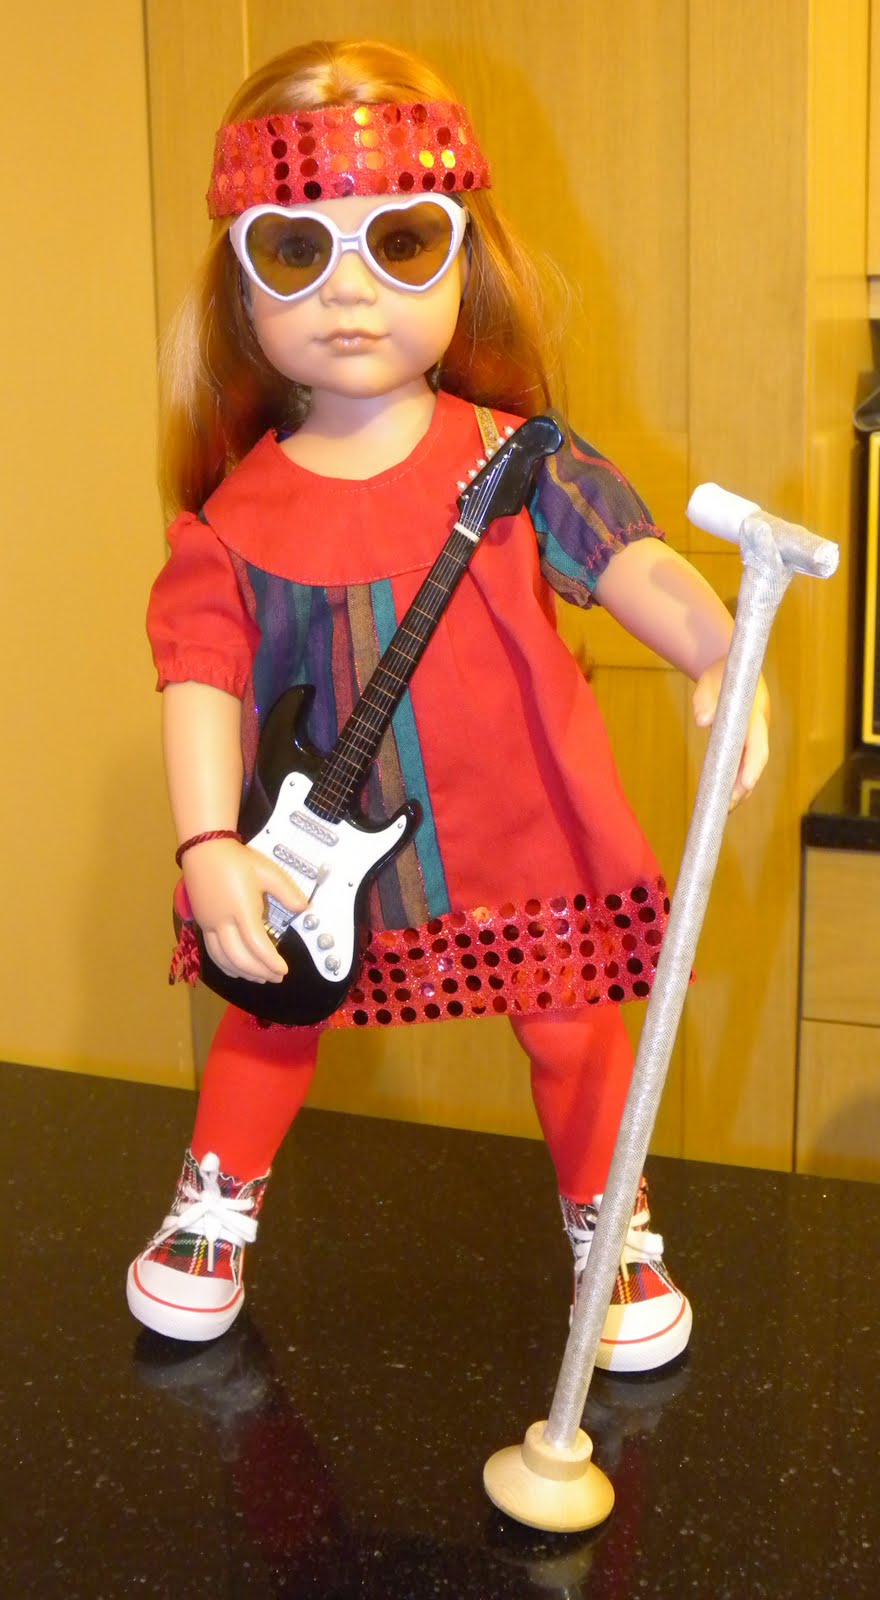
Harriet rocks!


.jpg)


3 comments:
Excellent DollMum, you are really clever!
I'm working on the outfit for Samantha now, and documenting it with photos. I'm going to retrace the pattern onto A4 paper and scan then pdf it, so I could send it to you if you like sewing and want to give this outfit a try for your daughter's doll.
Thank you DollMum.
Post a Comment